logo
logo

Node API (Zezo OTT)

by zezo

Version 2.x

Zezo OTT Platform solution

Welcome to our state-of-the-art OTT Platform, delivering an immersive entertainment experience across various devices. Explore our comprehensive ecosystem that includes an Admin Panel, Android App, iOS App, Android TV App, and a Responsive Website.

Launch your own OTT Platform with Zezo in minutes and deliver a captivating entertainment experience to your audience.

Login and register to zezo.in and deploy your own OTT Platform in minutes.

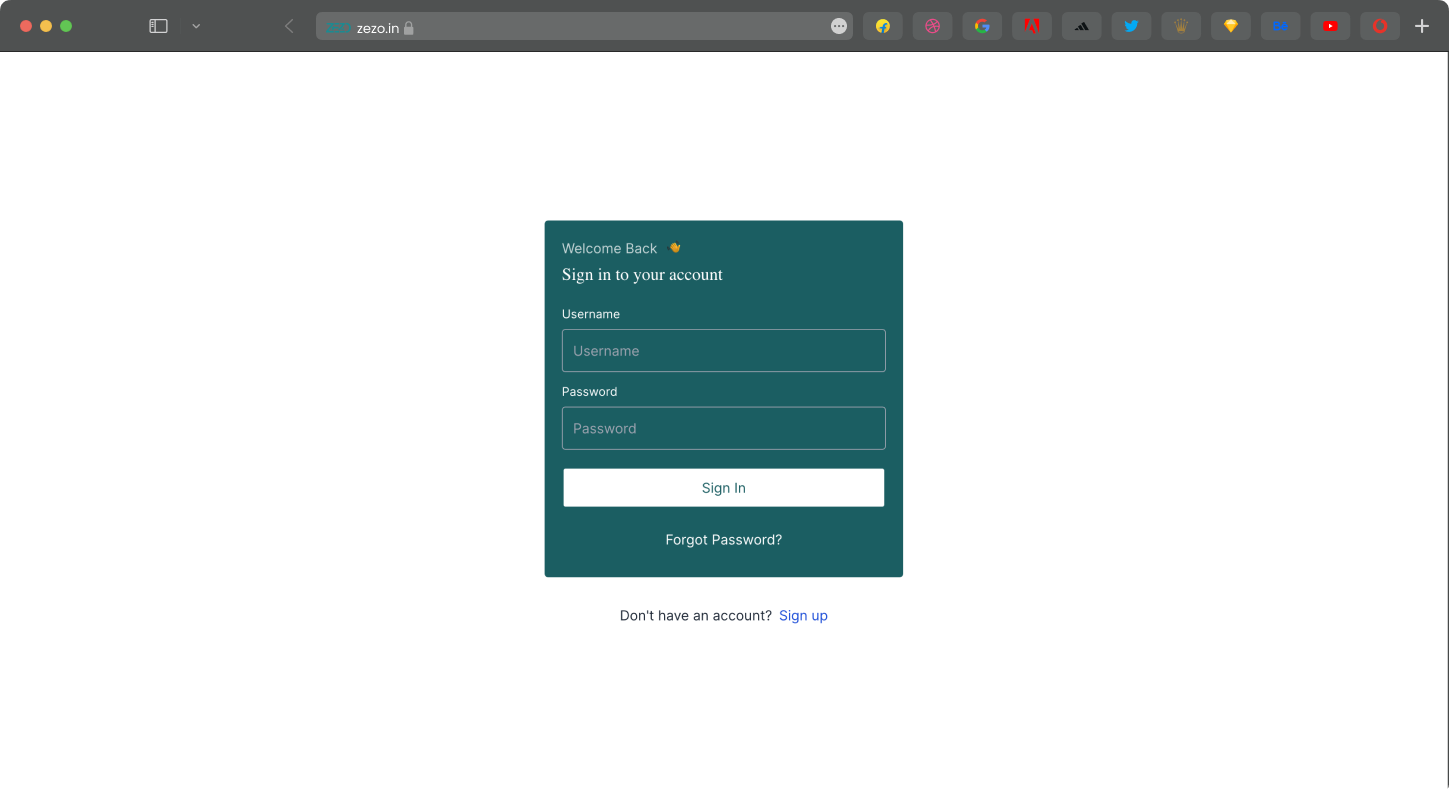
You can login and register to zezo.in by clicking on the following links:

Login and register


Environment Variables Setup

NODE_ENV: prod or dev
DEBUG_MODE: true or false
FRONTEND_URL: https://your-website-url.com your website url.
CORS_ORIGIN_HOST: Add your host url here by comma separated. For example: https://admin.your-domain.com,https://www.your-domain.com,https://partner.your-domain.com,https://your-domain.com
DB_CONNECTION: mongodb://localhost:27017/zezo-ott Create a database and add the connection string here.
CRYPTOJS_KEY: Create a random string and add it here. you can use openssl rand -base64 32 command to create a random string.
CRYPTOJS_KEY_APP: Create a random string and add it here. you can use openssl rand -base64 32 command to create a random string.
DEFUALT_COUNTRY_CODE: Add your default country code here. For example: 91
JWT_SECRET: Create a random string and add it here. you can use openssl rand -base64 32 command to create a random string.
JWT_ISSUER: Add your website here. For example: your-website-url.com
JWT_REFRESH_SECRET: Create a random string and add it here. you can use openssl rand -base64 32 command to create a random string.
PORT: 5500
BASE_URL_API: Add api url here. For example: https://api.your-website-url.com
JWT_REFRESH_TOKEN_EXPIRY: 1y
JWT_COOKIE_MAX_AGE: 525600
ADMIN_EXISTS: If admin user exists, add true here otherwise false. For example: true
REDIS_URL: Add your redis url here. For example: redis://localhost:6379
AUTH_TYPE: PHONE
OTP_HASH_SECRET: Create a random string and add it here. you can use openssl rand -base64 32 command to create a random string.
DEMO_PHONE_AUTH: If you want to enable demo phone auth, add true here otherwise false. For example: true
DEMO_PHONE_NUMBER: Add your demo phone number here. For example: 7777777777
DEMO_PHONE_NUMBER_OTP: Add your demo phone number OTP here. For example: 1234
TRANSCODER_SIGNING_KEY: Add your transcoder signing key here. For example: your-random-string
RECAPTCHA_SECRET_KEY: Add your recaptcha secret key here. if you don't have add none.
JWT_PRIVATE_KEY: Create you single line private key and add it here. you can use openssl genrsa -out your-private-key.pem 2048 command to create a private key. Then use awk -v ORS='\\n' '1' your-private-key.pem | pbcopy command to copy the private key to clipboard. Then paste the private key here.
JWKS_URI: Add your JWKS URI here. For example: https://your-website-url.com/public/jwks.json
COOKIE_DOMAIN: none
JWT_ACCESS_TOKEN_EXPIRY_TIME: 524600
JWT_ACCESS_TOKEN_EXPIRY: 1y
INFISICAL_CACHE_TTL: 86400
INFISICAL_MACHINE_IDENTITY_CLIENT_ID: Add your machine identity client id here. For example: your-machine-identity-client-id
INFISICAL_MACHINE_IDENTITY_CLIENT_SECRET: Add your machine identity client secret here. For example: your-machine-identity-client-secret
INFISICAL_PROJECT_ID: Add your project id here. For example: your-project-id

Example:

NODE_ENV=prod
DEBUG_MODE=false
FRONTEND_URL=https://your-website-url.com
CORS_ORIGIN_HOST=https://admin.your-domain.com,https://www.your-domain.com,https://partner.your-domain.com,https://your-domain.com
DB_CONNECTION=mongodb://localhost:27017/zezo-ott
CRYPTOJS_KEY=your-random-string
CRYPTOJS_KEY_APP=your-random-string
DEFUALT_COUNTRY_CODE=91
JWT_SECRET=your-random-string
JWT_ISSUER=your-website-url.com
JWT_REFRESH_SECRET=your-random-string
PORT=5500
BASE_URL_API=https://api.your-website-url.com
JWT_REFRESH_TOKEN_EXPIRY=1y
JWT_COOKIE_MAX_AGE=525600
ADMIN_EXISTS=false
REDIS_URL=redis://localhost:6379
AUTH_TYPE=PHONE
OTP_HASH_SECRET=your-random-string
DEMO_PHONE_AUTH=true
DEMO_PHONE_NUMBER=7777777777
DEMO_PHONE_NUMBER_OTP=1234
TRANSCODER_SIGNING_KEY=your-random-string
RECAPTCHA_SECRET_KEY=none
JWT_PRIVATE_KEY=your-private-key
JWKS_URI=https://your-website-url.com/public/jwks.json
COOKIE_DOMAIN=none
JWT_ACCESS_TOKEN_EXPIRY_TIME=524600
JWT_ACCESS_TOKEN_EXPIRY=1y
INFISICAL_CACHE_TTL=86400
INFISICAL_MACHINE_IDENTITY_CLIENT_ID=your-machine-identity-client-id
INFISICAL_MACHINE_IDENTITY_CLIENT_SECRET=your-machine-identity-client-secret
INFISICAL_PROJECT_ID=your-project-id

Create RSA Key Pair for JWT

  • Go to the cryptotools.net.
  • Select the key length as 2048.
  • Click on the "Generate New Keys" button.
  • Copy the public key and private key and save them in a secure location.

Create JWKS URI

  • Go to the russelldavies.github.io.
  • Paste the private key in the "PEM key" field.
  • Create a JSON file in your local system and paste the following content.
{
  "keys": [
    {
      "kty": "RSA",
      "use": "sig",
      "n": "Replace with n value",
      "e": "Replace with e value"
    }
  ]
}
  • Copy the "n" and "e" values from the "JWK key" field.
  • Paste the "n" and "e" values in the JSON file.
  • Upload the JSON file in aws s3 public bucket in root directory/public/jwks.json.
  • Select the jwks.json file and click on object actions and click on make public using ACL.
  • Click on "Make public" button.
  • Copy the URL of the jwks.json file and save it in a secure location.

RSA PRIVATE KEY Convert to single line

  • Create new file in your local system and paste the private key.
  • Run the following command to convert the private key to a single line.
awk -v ORS='\\n' '1' private-key.pem | pbcopy
  • Paste the single line private key in the secure location. we need this key to configure the API.

How to configure DNS settings for your domain using Cloudflare? (Recommended)

  1. Sign up/Login to Cloudflare

    • Go to Cloudflare
    • Sign up or log in to your Cloudflare account.
  2. Add a site to Cloudflare

    • Click on the "Add a Site" button.
    • Enter your domain name and click on "Continue".
    • Choose a plan (Free plan is sufficient for most users) and click on "Continue".
    • Cloudflare will scan your DNS records. Click on "Continue" once the scan is complete.
  3. Update your nameservers

    • Cloudflare will provide you with two nameservers.
    • Go to your domain registrar's website and update the nameservers with the ones provided by Cloudflare.
  4. Configure DNS settings in Cloudflare

    • Go to the "DNS" tab in your Cloudflare dashboard.
    • Add a new A record with the following details:
      • Type: A
      • Name: api
      • IPv4 address: Your server IP address
      • TTL: Automatic
    • Add another A record with the following details:
      • Type: A
      • Name: admin
      • IPv4 address: Your server IP address
      • TTL: Automatic
    • Add another A record with the following details:
      • Type: A
      • Name: partner
      • IPv4 address: Your server IP address
      • TTL: Automatic
    • Add another A record with the following details:
      • Type: A
      • Name: @
      • IPv4 address: Your server IP address
      • TTL: Automatic
    • Add a CNAME record with the following details:
      • Type: CNAME
      • Name: www
      • Target: Your domain name
      • TTL: Automatic
  5. Verify the DNS settings

    • Wait for the DNS changes to propagate (usually takes a few minutes to a few hours).
    • You can verify the DNS settings using tools like DNS Checker.

AWS Setup

  1. Create an private S3 bucket

    • Sign in to your AWS account.
    • Go to the AWS Management Console.
    • Navigate to the S3 service.
    • Click on the "Create bucket" button.
    • Enter a unique bucket name and choose a region.
    • Click on the "Create bucket" button.
  2. Create public S3 bucket

    • Click on the "Create bucket" button.
    • Enter a unique bucket name and choose a region. e.g. assets-yourdomain
    • Click on the "Create bucket" button.
    • Select ACLs enabled in Object Ownership section.
    • Uncheck the "Block all public access" option.
    • Check the "I acknowledge that the current settings might result in this bucket and the objects within becoming public" option.
    • Click on the "Create bucket" button.
  3. Create a CloudFront distribution

    • Go to the CloudFront service.
    • Click on the "Create Distribution" button.
    • Select the your private S3 bucket as the origin.
    • Select the Origin access control settings (recommended) option.
    • Click on the "Create new OAC" button and click on the "Create" button.
    • Select the "Redirect HTTP to HTTPS" option in the Viewer Protocol Policy section.
    • Select "GET, HEAD, OPTIONS" in the Allowed HTTP Methods section.
    • Select "Do not enable security protections" in Web Application Firewall (WAF) section.
    • Click on the "Create Distribution" button.
    • After the distribution is created, copy the S3 bucket policy click copy policy and paste it in the bucket policy of your private S3 bucket. go to s3 service and select your private bucket and click on permissions and to bucket policy and paste the copied policy and click on save.
  4. Update CORS policy in public and private S3 bucket

    • Go to the S3 service.
    • Select your public S3 bucket.
    • Go to the "Permissions" tab.
    • Edit the "Cross-origin resource sharing (CORS)".
    • Paste the following CORS policy and click on the "Save" button.
[
  {
    "AllowedHeaders": ["*"],
    "AllowedMethods": ["GET", "HEAD", "PUT", "POST", "DELETE"],
    "AllowedOrigins": [
      "http://admin.yourdomain.com",
      "https://admin.yourdomain.com",
      "https://yourdomain.com",
      "https://www.yourdomain.com",
      "https://partner.yourdomain.com",
      "admin.yourdomain.com",
      "yourdomain.com",
      "partner.yourdomain.com"
    ],
    "ExposeHeaders": [
      "ETag",
      "Access-Control-Allow-Origin",
      "Connection",
      "Content-Length"
    ],
    "MaxAgeSeconds": 3000
  }
]
  • Same policy you need to add in your private S3 bucket.
  1. Create i am user for S3 bucket

    • Go to the IAM service.
    • Click on the "Users" tab.
    • Click on the "Create user" button.
    • Enter user name
    • Click on the "Next" button.
    • Click on the "Attach existing policies directly" button.
    • Search for the "AmazonS3FullAccess" policy and select it.
    • Click on the "Next" button.
    • Click on the "Create User" button.
    • Select the user and click on the "Security credentials" tab.
    • Click on the "Create access key" button.
    • Select the "Application running outside AWS" use case and click on the "Next" button.
    • Click on "Create access key" button.
    • Copy the "Access key ID" and "Secret access key" and save them in a secure location.
    • Click on the "Done" button.

Create infisical account.

  • Go to the Infisical.
  • Sign up or log in to your Infisical account.
  • Click on Add new Project and enter the project name and click on create.
  • Create Access Control Machine Identity for your project.

Create MongoDB account and get the connection string.

  • Go to the MongoDB.
  • Sign up or log in to your MongoDB account.
  • Select M0 free plan and click on "Create Deployment".
  • Copy the username and password and save it in a secure location.
  • Click on Create Database User
  • Click on Choose a connection method
  • Select Connect your application and copy the connection string and save it in a secure location.
  • Click on "Network Access" and click on "Add IP Address" and click on "Allow Access from Anywhere" and click on "Confirm".
  • Replace your database name in the connection string with the database name you want to use.
  • example connection string:
mongodb+srv://<username>:<password>@<cluster>.mongodb.net/<database>?retryWrites=true&w=majority

Prerequisites

  • Infisical Account for secrets management Infisical.
  • Aws Account for media storage AWS.
  • MongoDB Account for database MongoDB. you can use MongoDB Atlas for free or other services.
  • Aiven Account for Redis Aiven. you can use Redis for free or other services.

Conclusion

Congratulations! You have successfully deployed your own OTT Platform with Zezo. Explore the various features and functionalities of the platform to deliver a captivating entertainment experience to your audience. Get started today and revolutionize the way you deliver content to your users.

Pricing and Plans

Display pricing and plans soon.